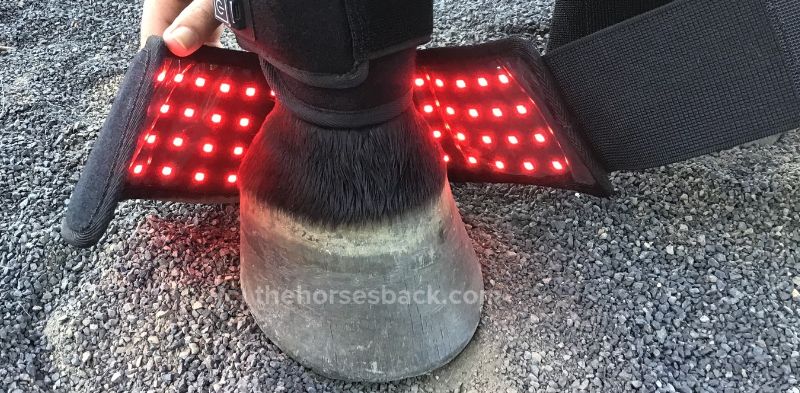
Necessity is the mother of invention, and despite the name, red light hoof boots can do a lot more than sit on the hooves. They’re compact and flexible, with 80 diodes of red and near infrared light, so you can easily fit them to many other spots. Here are ten places you can use them, as part of the red light and near infrared therapy range.
1. The Pastern and Coronet Band
This is what they were made for. The hoof boots wrap the pastern joints and coronet band, and you can also use them for warm-up before work, and after hoof rebalancing.
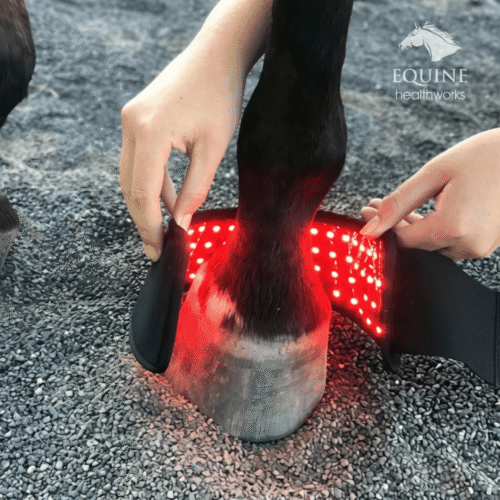
2. The Fetlock
The fetlock is a hard-working joint, and luckily a hoof boot can cover it effectively. For more coverage up the cannon and tendons, the tendon boots are always the better fit, but you can use the hoof boots as a well fitted alternative in this area.
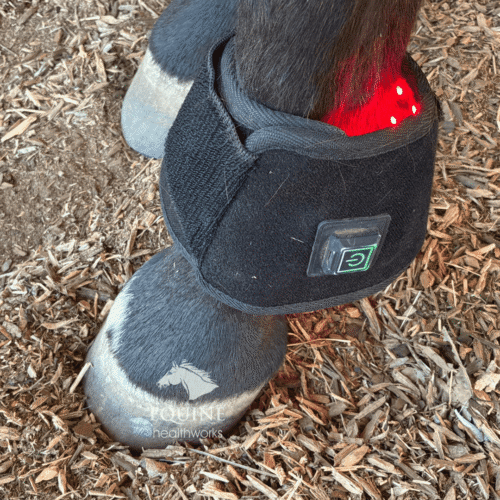
3. The Knee (Carpus)
The shape of the boots really suits the knee – as one customer says in her review, they fit “all sorts of places”. The knee has little soft tissue over it, so you’ll usually find that a small boot sits snugly.
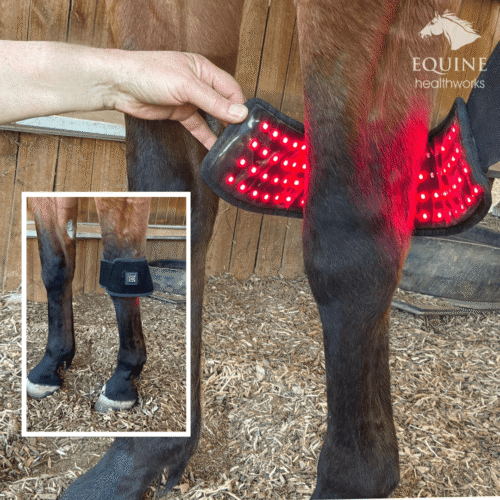
4. The Hock (Tarsus)
Your hoof boots can be wrapped around the hock for a quick session. For better security, use an extra velcro strap wrapped over the boot. For full hock coverage, see the hock boots, made for this joint.
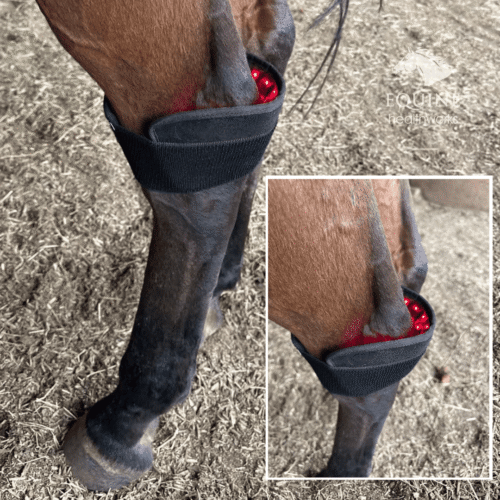
5. The Stifle
The stifle is harder to fit to, but two red light hoof boots joined by their velcro straps can remain in place on a quiet horse. Always stay with your horse for the whole session and only ever use this method with a horse you can be reasonably sure won’t kick.
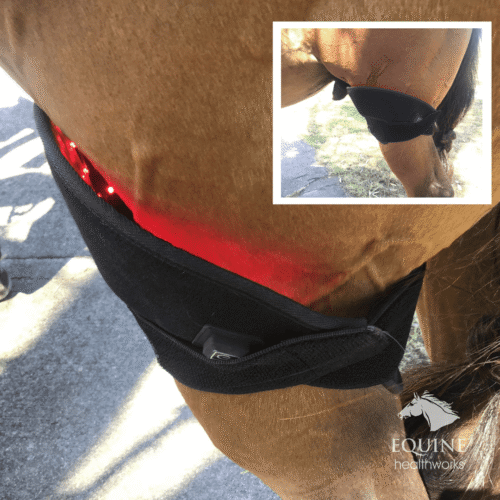
6. The Poll (Atlanto-Occipital Joint)
You can use the boots at the poll, where a small boot sits better than a large pad – the crescent shape suits it well. Keep the light well away from your horse’s eyes.
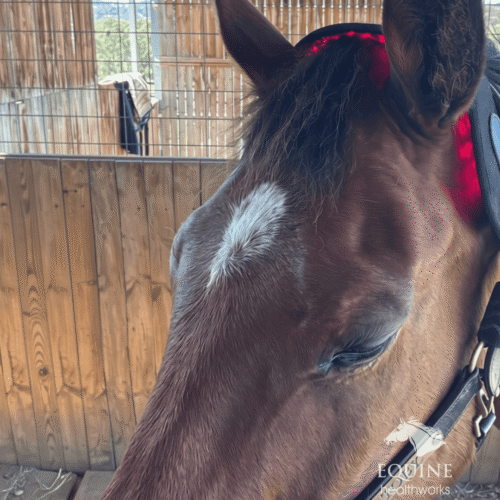
7. The Brow (Temporal Muscles)
Your horse’s brow is a small area, so a compact, curved boot is quite suited shape and size-wise. Using an extra velcro strap, you can attach it to the halter. Never point the lights toward the eyes, and keep sessions short.
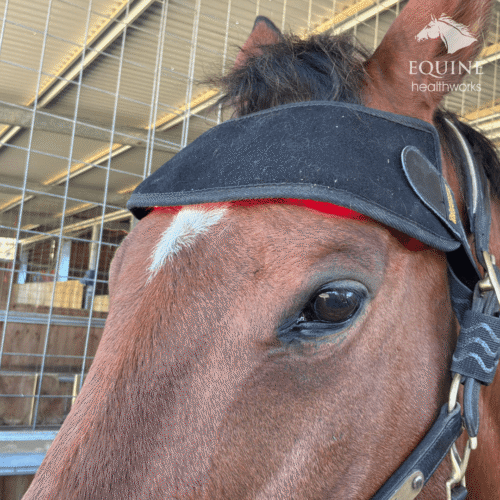
8. The Lumbosacral Region
For the lower back and croup, many owners reach for the back pad, which covers the thoracic and lumbar spine. However, you can also use the hoof boots for spot work on one area: the lumbosacral space.
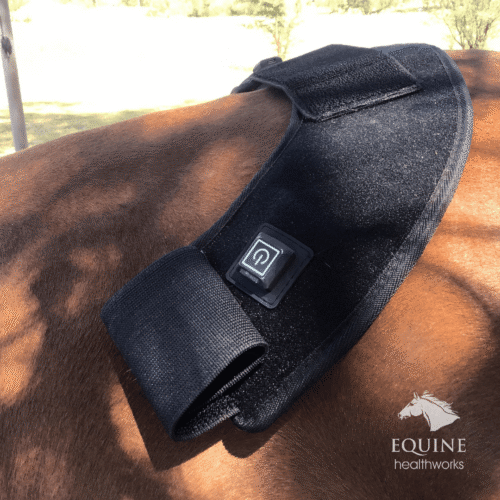
9. Base of Withers
Because the boots are small, they work for the withers and the area behind them, which a big back pad doesn’t always fit. Fix two together and you’ll often find they tuck into the area where the saddle tree points can cause pressure.
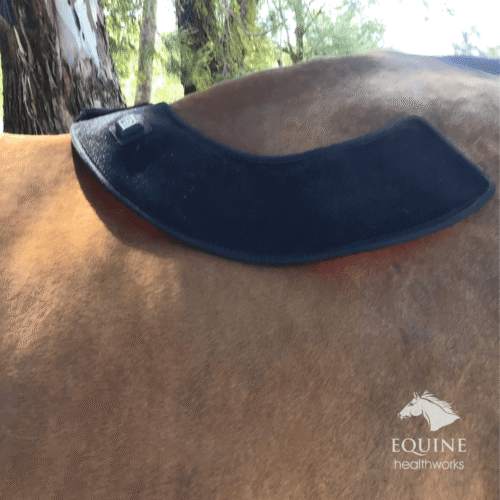
10. Caudal Neck
The base of the neck is another spot owners use the boots on. A 12″ velcro strap or two are your friends here! The back pad can also be used at the base of the neck.
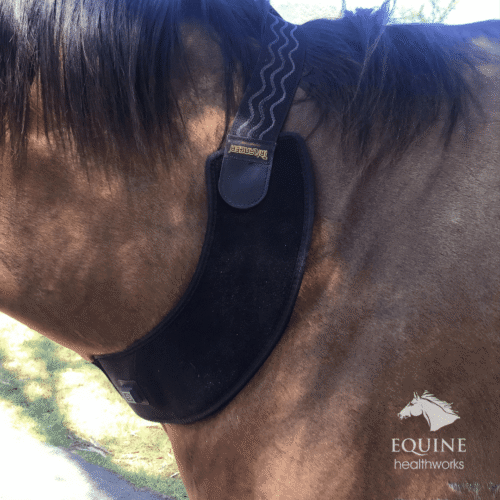
Cover More with the Combo
If you’re interested in using the hoof and tendon boots together, the tendon and hoof boots combo save you $50. Browse the full red light range for more details.


Leave a Reply